Taking screenshots or portions of your display can be really simple with the ‘snipping tool’ in Windows. This tool allows users to either capture a portion of the screen or the entire screen. There is no need for cropping afterward because the cropping occurs while using the tool; users simply click and drag their mouse to capture an image.
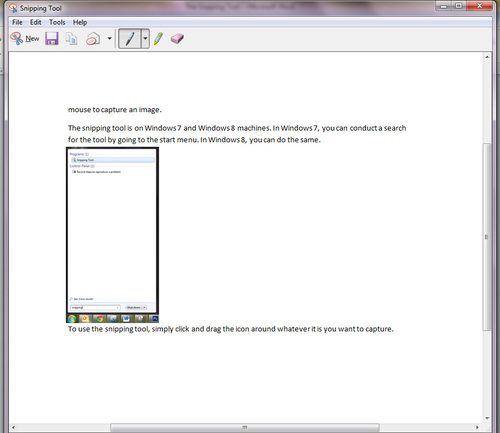
The snipping tool is installed on Windows 7 and Windows 8 machines. In Windows 7, you can conduct a search for the snipping tool by going to the start menu. In Windows 8, if you hover your mouse in either the top or bottom left corners, the search icon will appear and you can search for the snipping tool here.


To use the snipping tool, simply click and drag the the cross to chose what you want to capture.

A red box will show what is being captured by the tool:

Once you captured what you are wanting, let go and the image is captured.
If you are unhappy with the image, you can easily capture a new image with the ‘new’ button:

From the ‘new’ drop-down menu, there are options for capturing the image you want:

Once you are happy with the snip, you have options to save, copy, email, write on, highlight, or erase parts of the snip.

Go test out the snipping tool for yourself!